HW#5:
Isometric Drawing of your Object
Use 11x17 “ paper and graphite
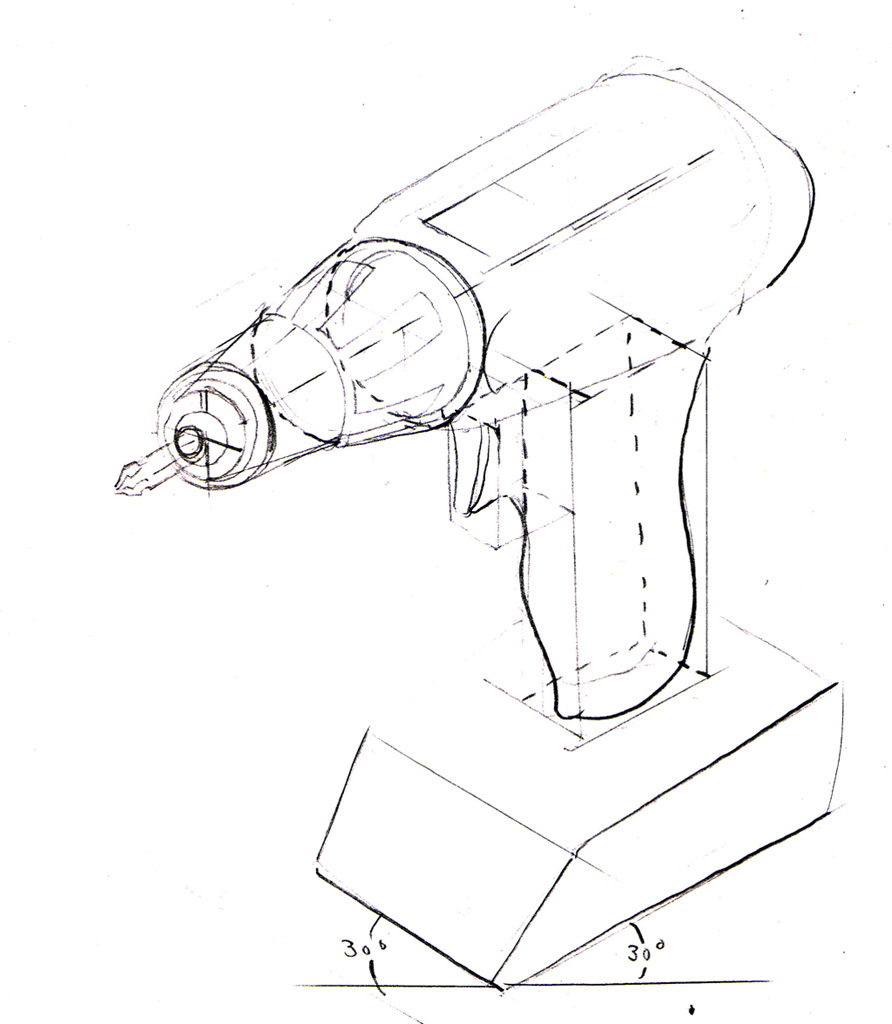
Hoziontal lines parallel with the ground
are at
30-degrees from the bottom of the page as in the drawing to the right--->
NO INK!
NO SHADING!
Use the engineer’s scale to decide what scale (1:2, 2:3, 3:2?) is the best fit for your drawing (what scale allows your object to fill most of the page without going off the page)
rotate your object to find the position that best communicate the object’s structure
Decide whether the page should be horizontal or vertical to best fit the object
Start out by drawing in your object’s longest dimension and your chosen scale--is it the best fit?
(even better start off by roughing in a cube that using the largest measurements of
your object and it’s length width and depth, you will then be sure whether you need to
make changes.
4.
Correct
drawing and measurement mistakes. Draw all structural (3-dimensional) details (don't worry about patterns, flat text or other surface decoration)
5. There’s too much time allotted to this assignment to return an unfinished drawing.
6. When the drawing is beautiful and structural sound and complete (construction lines should remain.), add dimensions. See below for info:
7. Make sure to write your scale on the page (2:1, 3:2, 4:1, etc)
Tips:
Remember to use center lines when drawing circles, cylinders, or any weirdly-shaped part of your object.
Step back from your drawing often. visually compare length of one part to another. Does it match the object? If it doesnt look right, if probably isnt.
-------------------------------
Notes on Dimensioning:
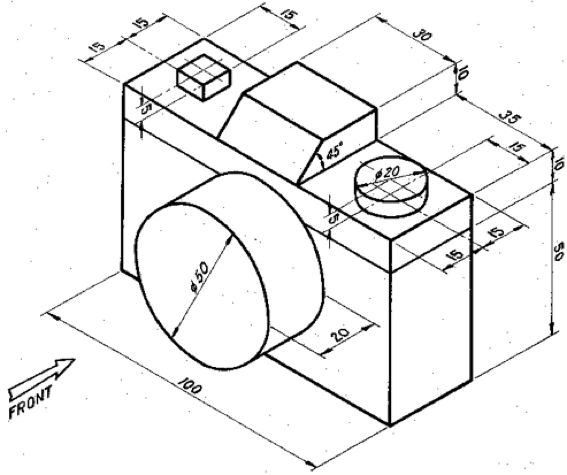
For this assignment, you will also be adding dimensions
to the drawing.
Even though you are scaling up are down from the objects
actual size, you’re dimensions will reflect the objects actual
size.
Somewhere on the page, write the SCALE that you used in your drawing
(2:1, 2:3, etc).
Week #5 Lecture


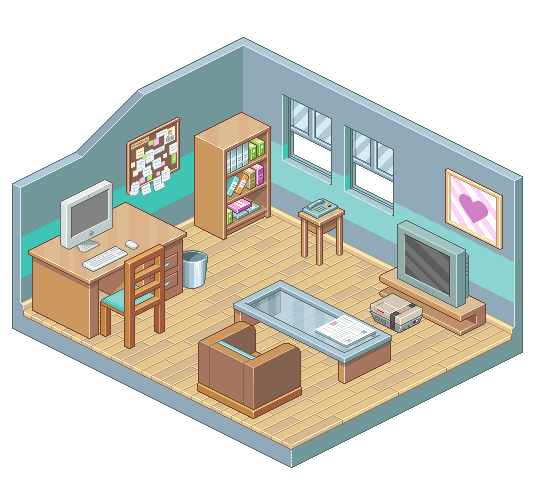
 Cooper Hewitt Smithsonian Design Museum
 ----------->>>>>>


